How to Send Stablecoin from the API Dashboard
Last updated: September 2, 2026
This is a guide on how to send stablecoin from your Yellow Card stablecoin wallet to an external wallet address, using the API dashboard.
Before you begin:
Log in to your API dashboard with a role that allows you to initiate transactions, such as Administrator or Treasury.
Have the recipient's wallet address and network ready, for example USDT on TRC-20.
Have your authenticator app to hand, as a six-digit code is required to authorise the transaction.
Confirm your stablecoin wallet holds enough to cover both the send amount and the network fee.
Step 1: Select the wallet you are sending from
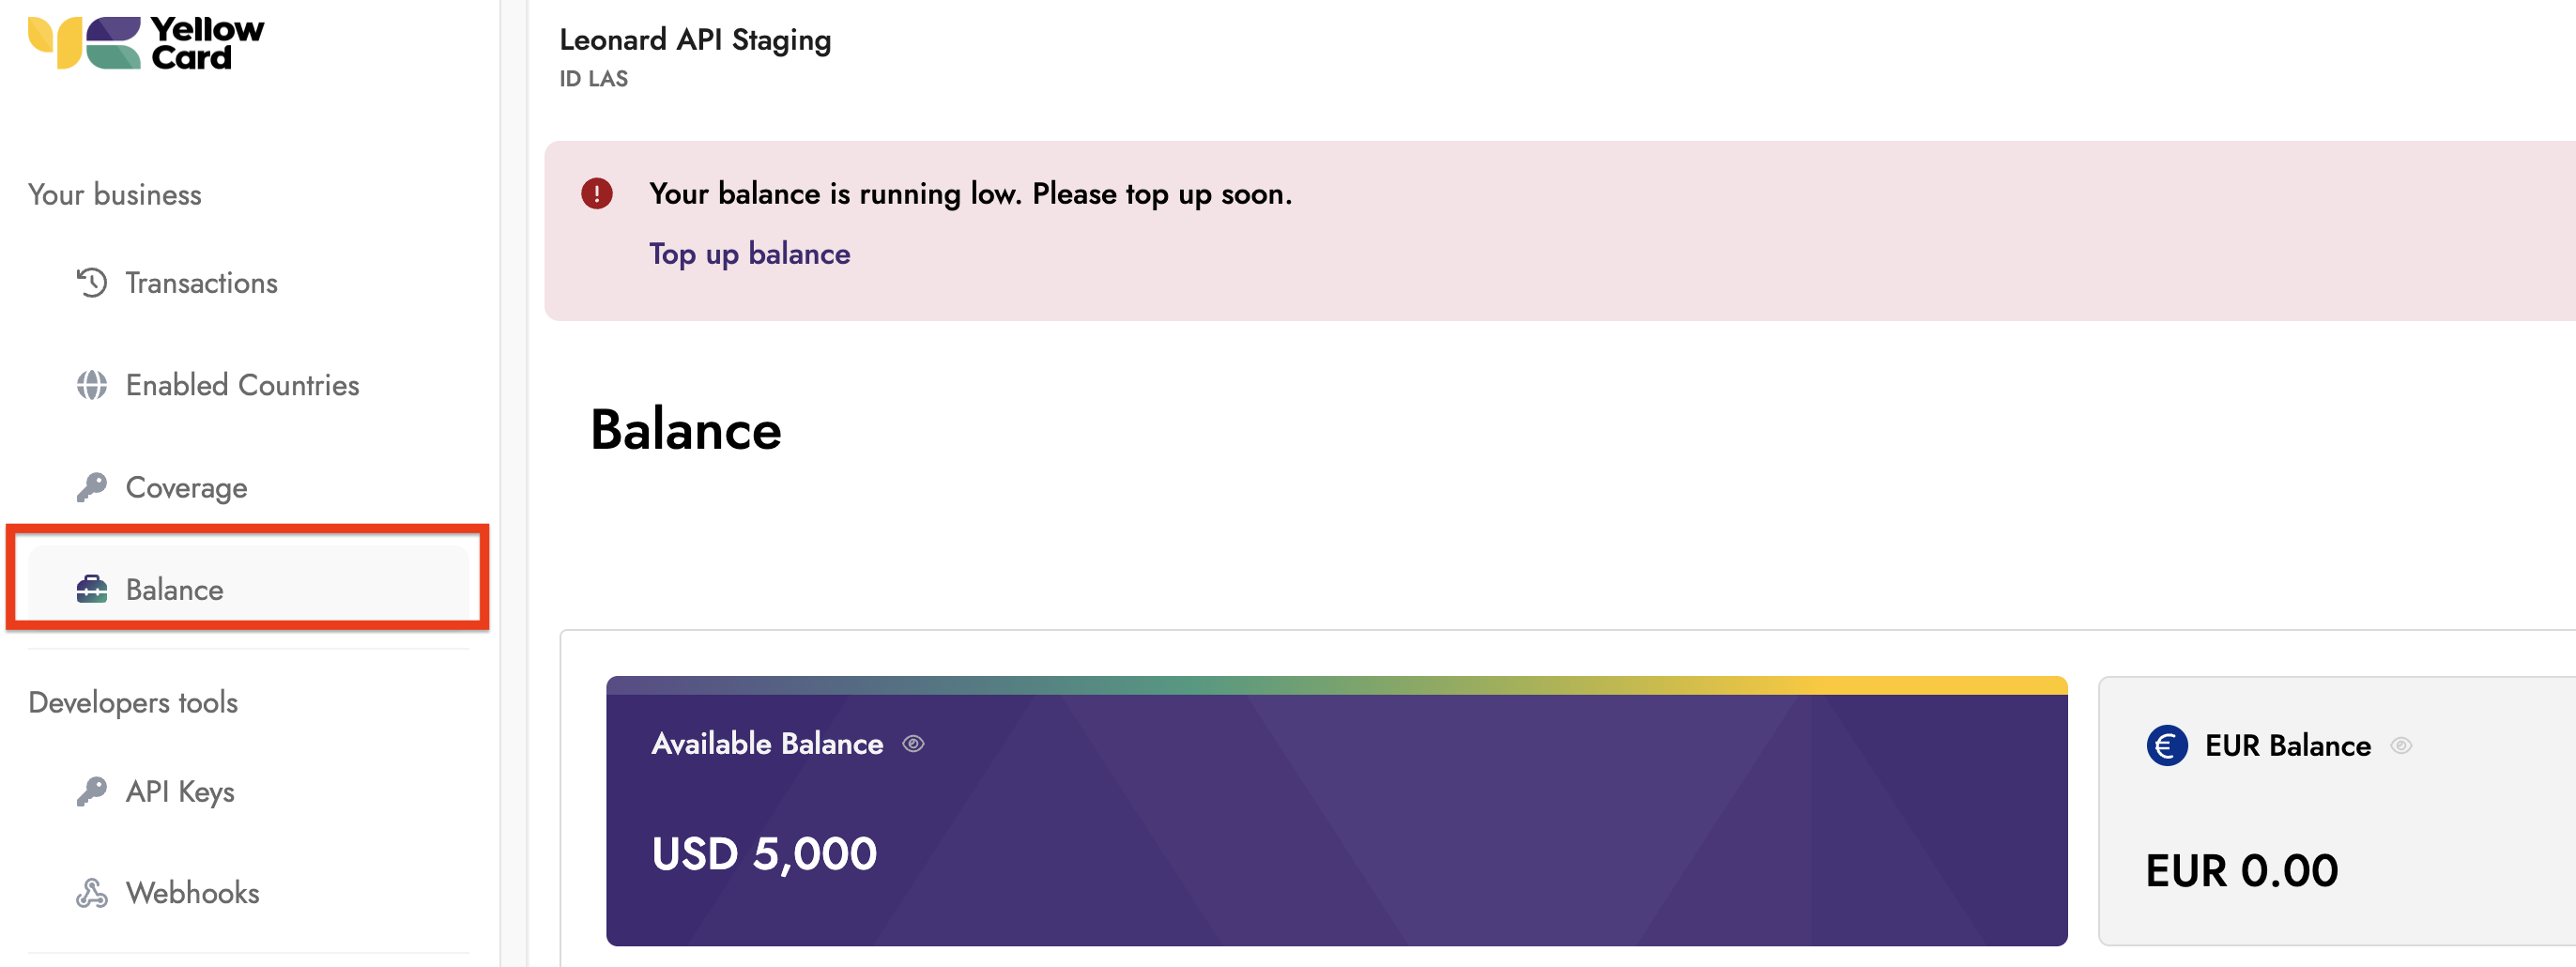
Log in to your API dashboard. The Primary Wallets page opens by default, or select Wallets in the left-hand menu, under Your business.
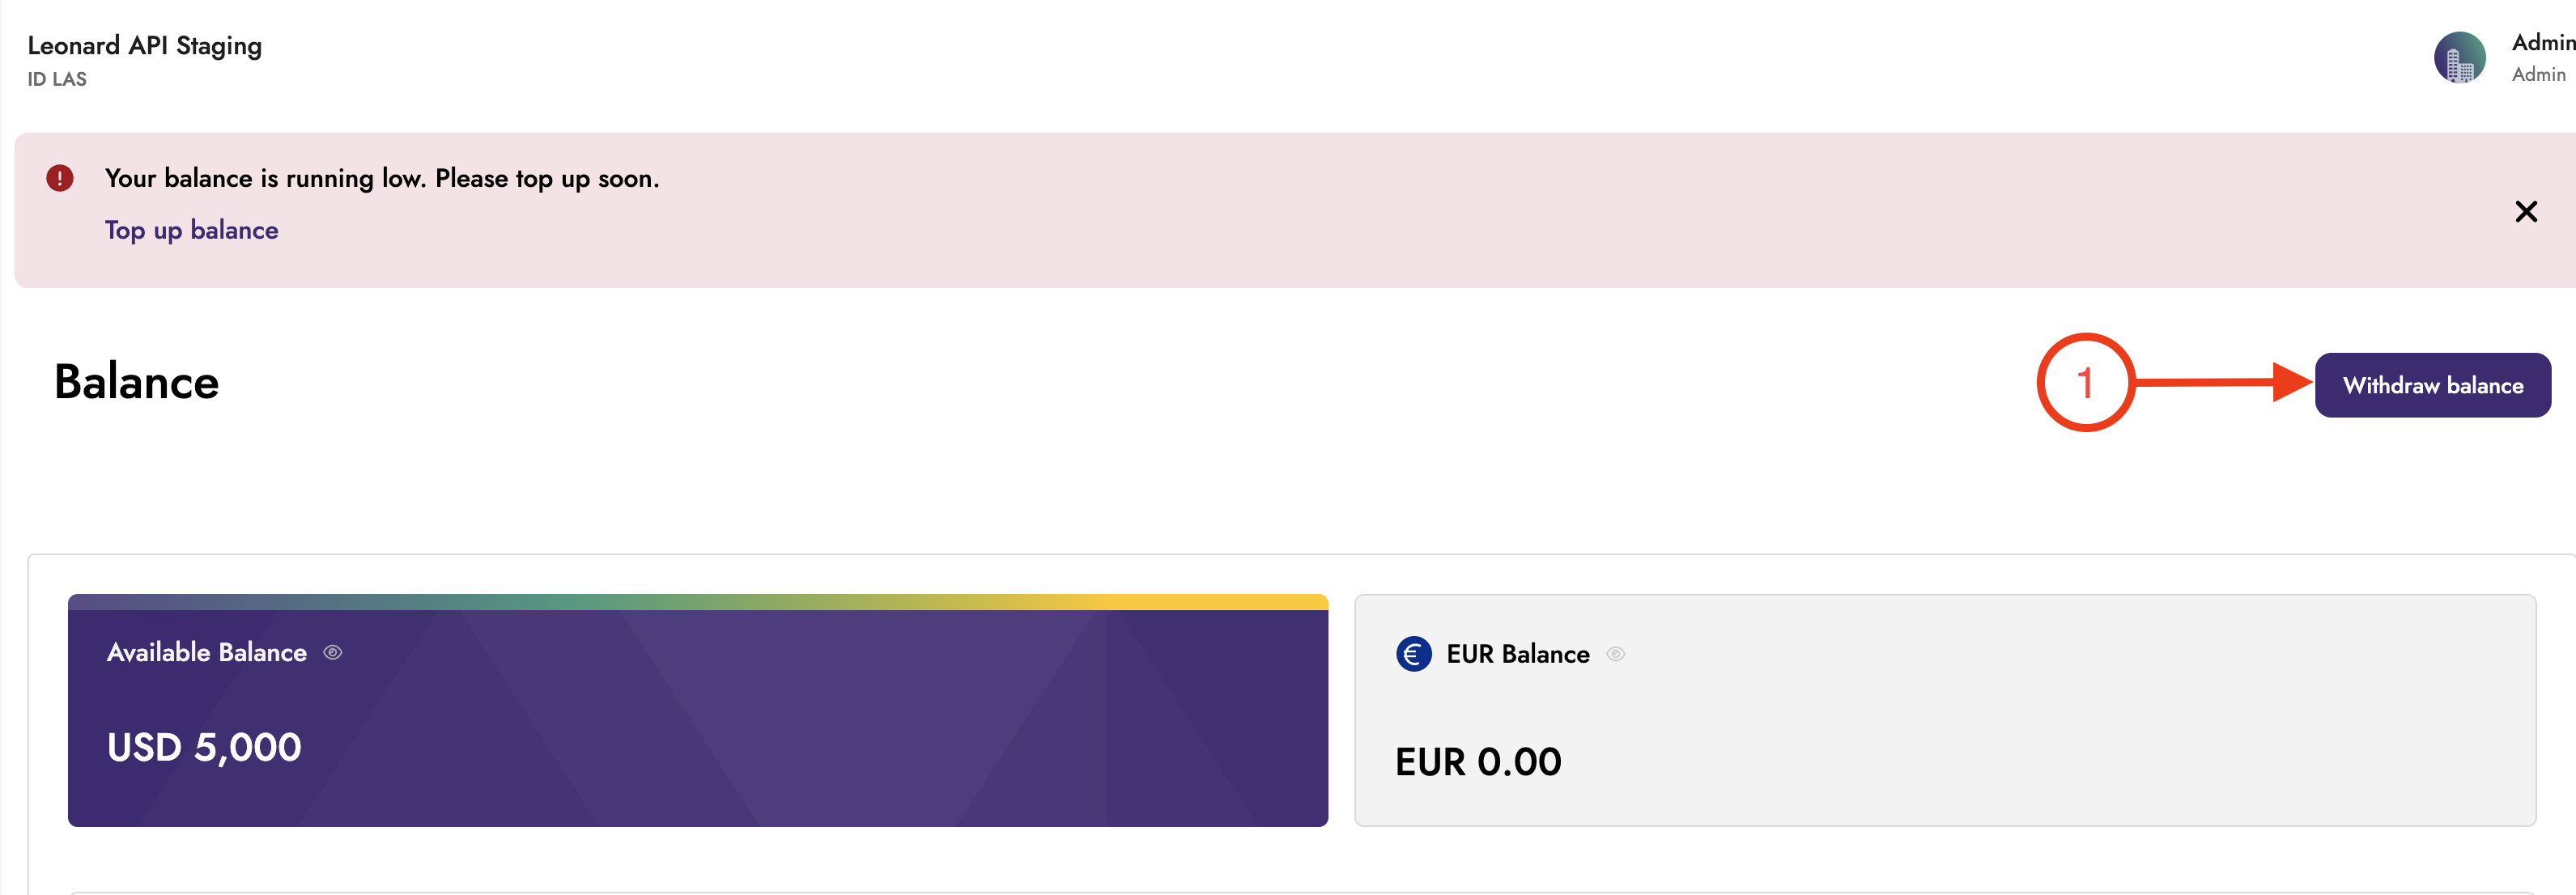
Click Send in the row of actions beside your balance.
In the Send panel, open the "What wallet do you want to send from?" dropdown, or use one of the shortcut buttons below it.
Select Stablecoin Wallet.
Step 2: Enter the amount
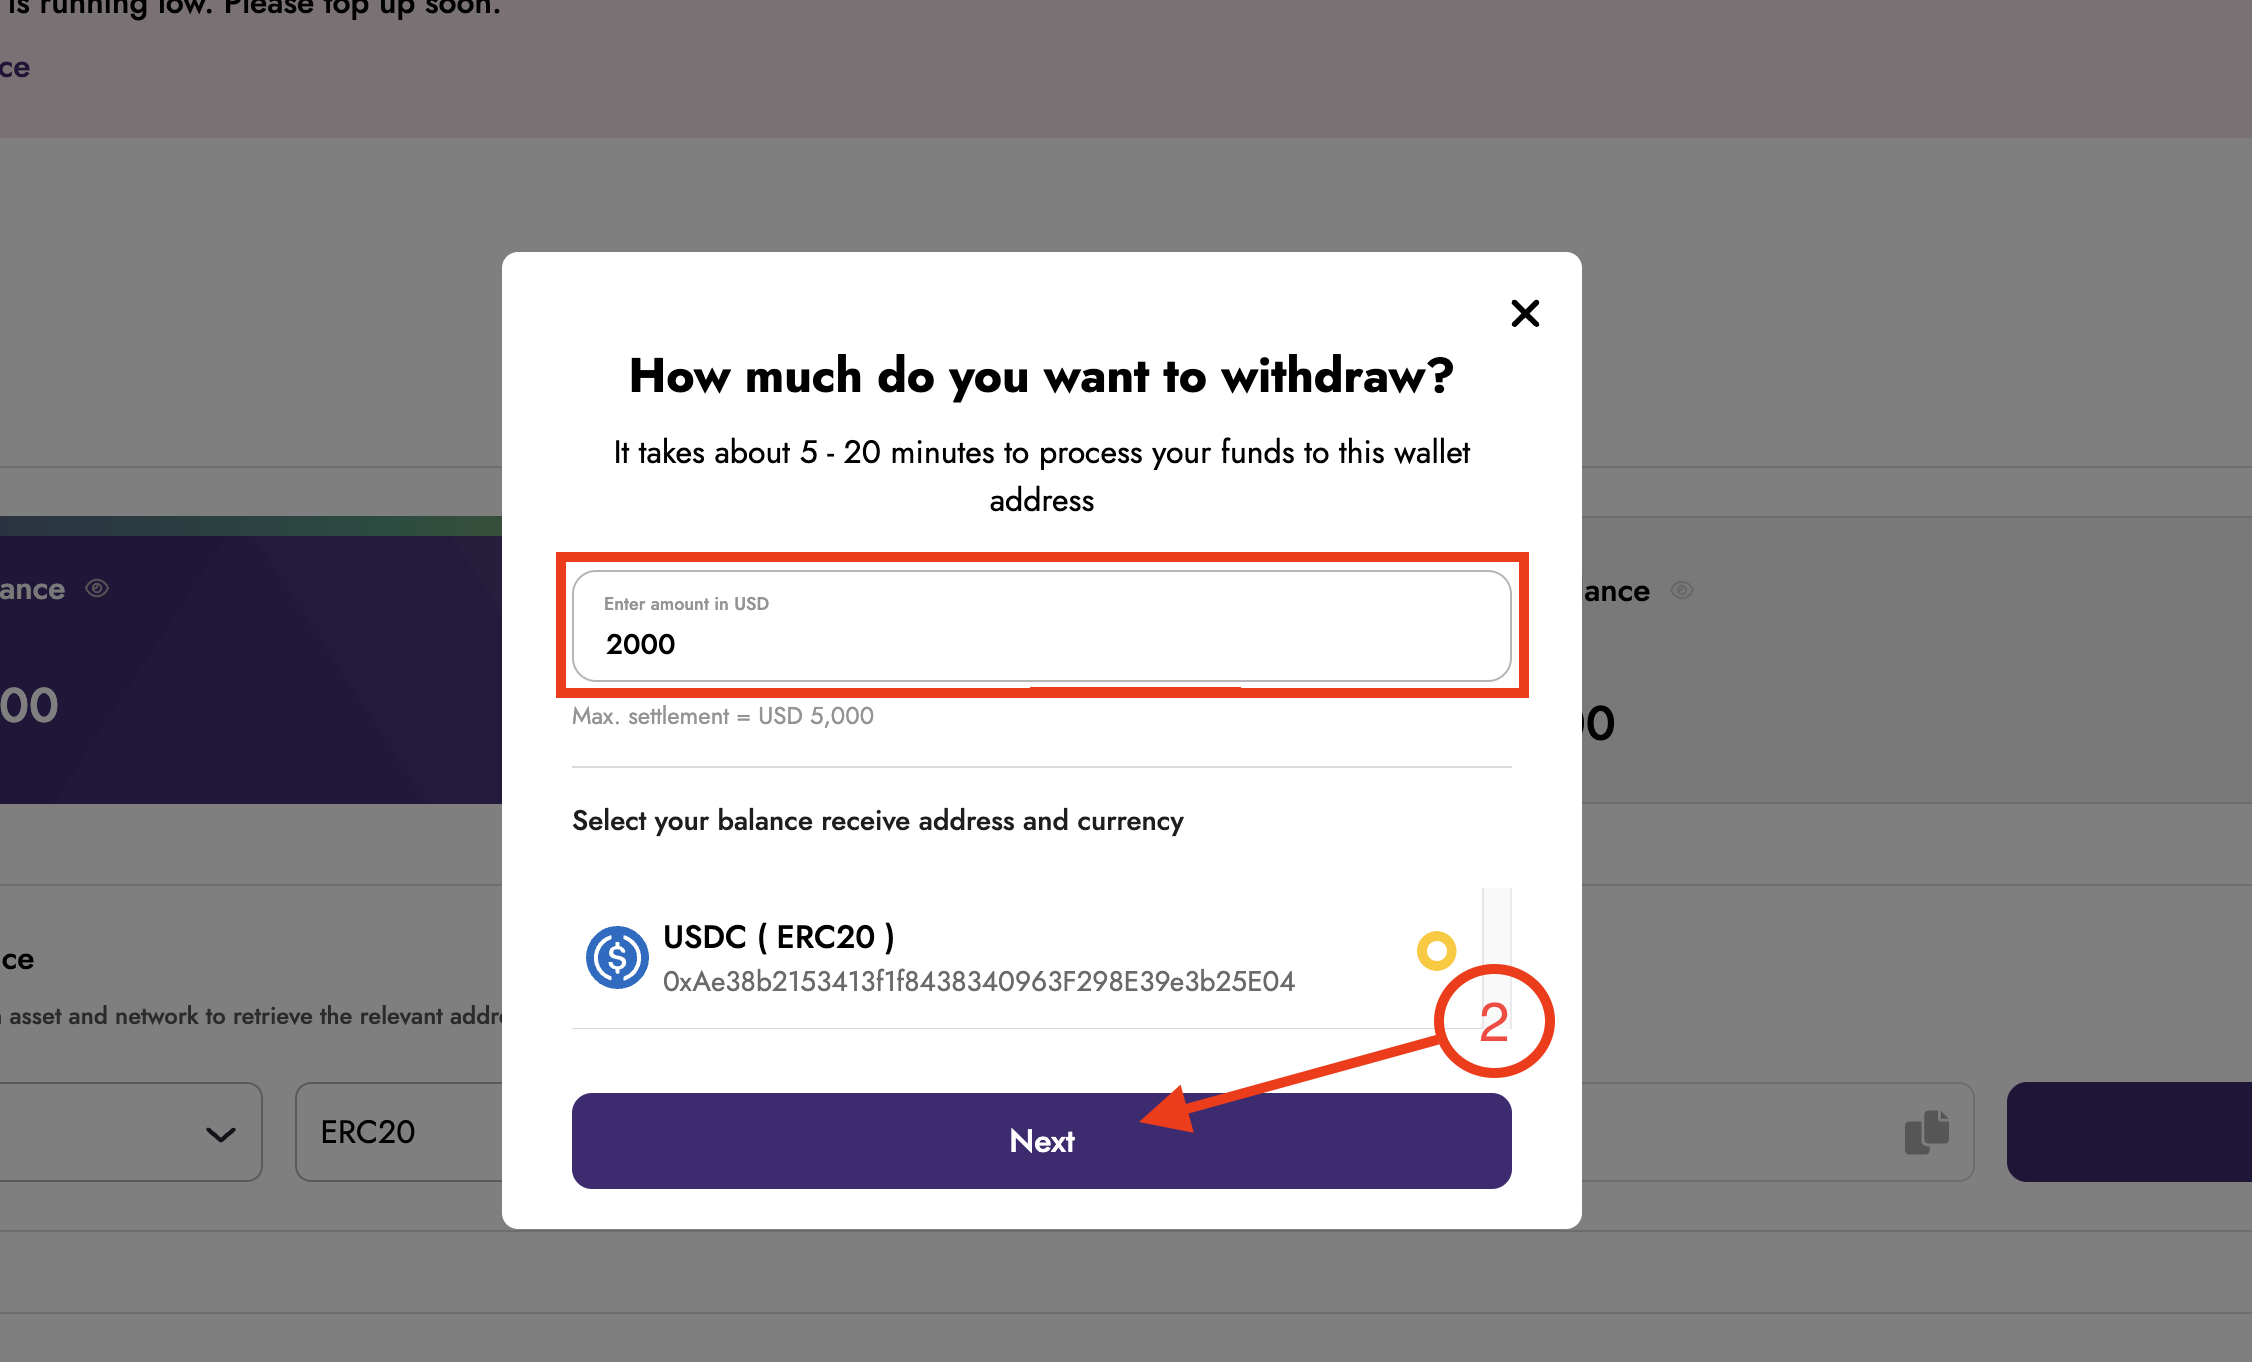
In the Enter amount section, use the Select currency dropdown to choose your stablecoin, for example USDT.
Type the amount you want to send in the Send amount field.
Check the Available balance shown below the field to make sure you have enough, including the network fee.
Click Next.
Step 3: Select the destination wallet address
In the Select wallet address section, open the dropdown and choose a saved wallet address.
If the address is not saved yet, click Send to another wallet address and enter the new address and network.
Confirm the network shown beside the address is correct, for example USDT (TRC-20).
Click Next.
Always check the full wallet address and network before continuing. Transfers sent to the wrong address or on the wrong network cannot be reversed.
Step 4: Complete the compliance check
To comply with Travel Rule regulations, Yellow Card must collect recipient details. You only need to do this once for each wallet address.
Enter the Beneficiary legal name, which is the full name of the entity or individual receiving the funds.
Enter the Beneficiary email address.
Enter the company's physical address.
Enter the Business registration number.
Click Next.
Select Learn more in the notice on this screen if you would like more detail on the Travel Rule requirement.
Step 5: Enter your 2FA authentication code
Open your authenticator app and find the six-digit code for your Yellow Card account.
Enter the code in the 2FA authentication code boxes.
Click Next.
Step 6: Confirm the transaction
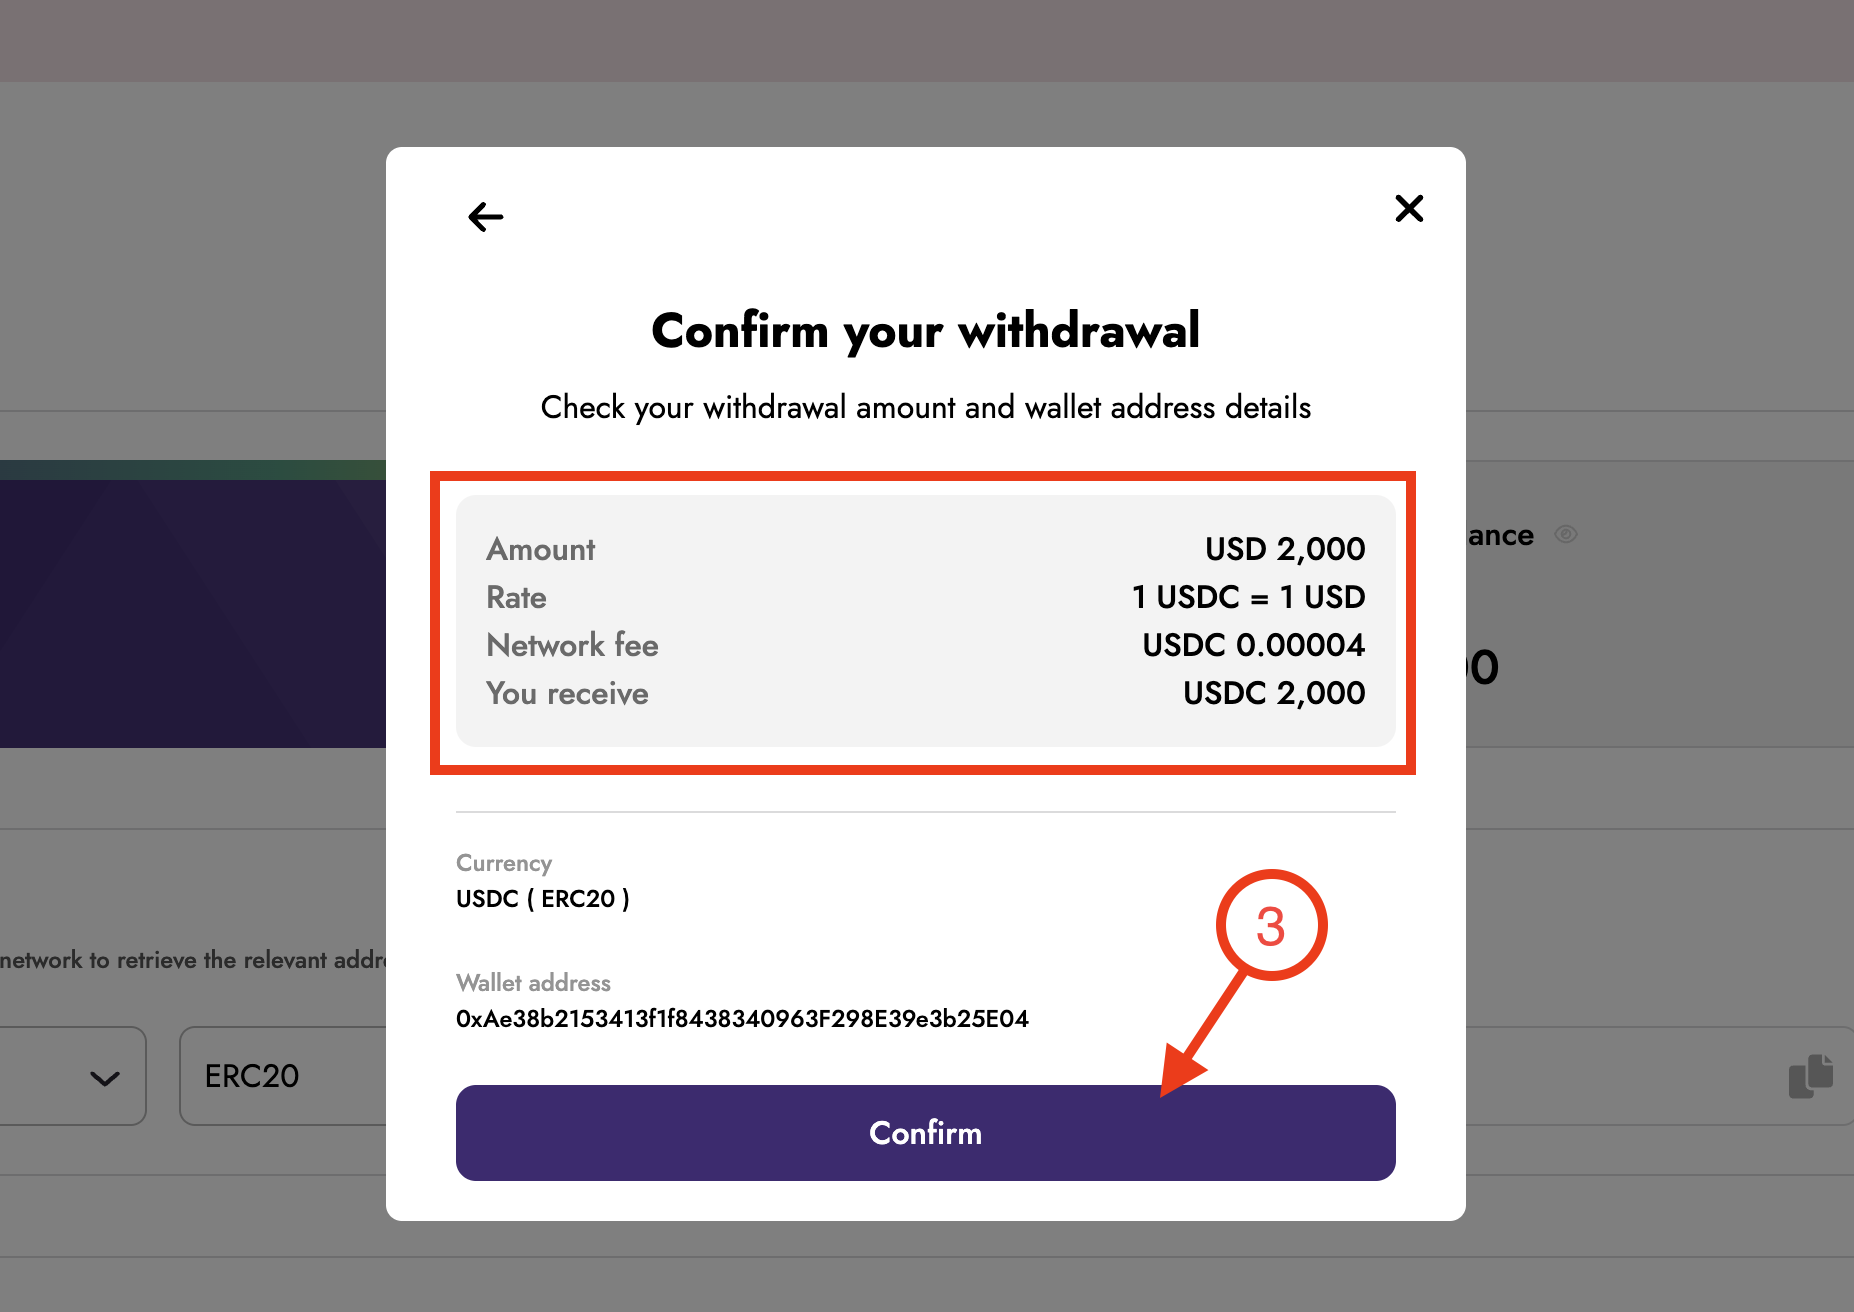
Review the summary on the Confirmation screen, which shows:
Send amount
Network fee
Network
Full name of entity or beneficiary
Email address of beneficiary
Business registration number
Company physical address
Currency
Wallet address
If everything is correct, click Confirm. If not, use the sections above to go back and edit your details.
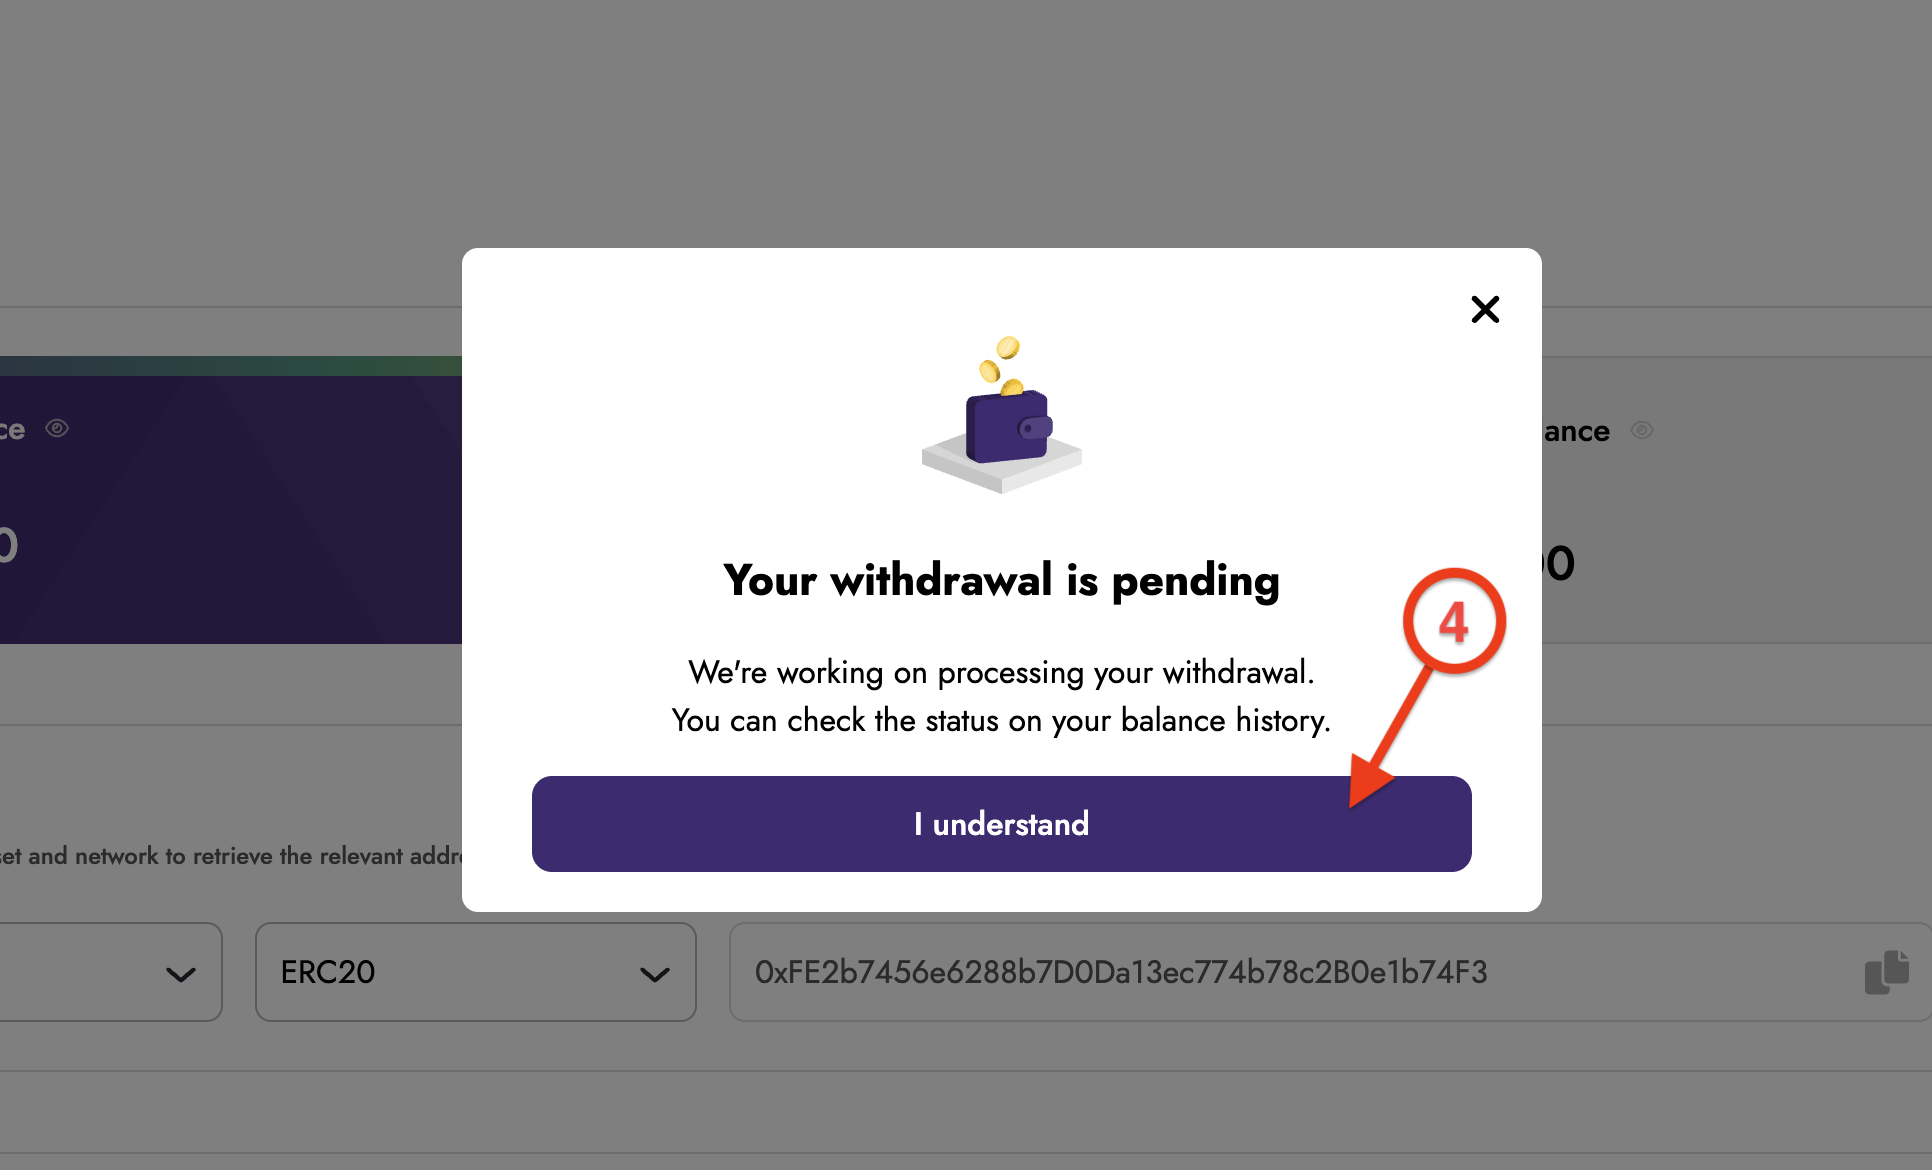
A screen appears confirming "We're processing your transaction", and noting that the recipient wallet address will be funded shortly. Click Done to close it.
You have successfully sent stablecoin.